

How do I deploy a Stack?
A Stack is a complete environment ready for your application: your language container, the database if the Stack includes one, an nginx that receives traffic on port 80, an automatic backups service, and a web file manager. It installs with a single command.
Before you start
You need to connect via SSH to your server using the credentials we sent you when activating the service.
Example SSH connection details:
Host: 69.61.21.122
User: root
Password: (the root password of your cloud)
Port: (specific port for your cloud)
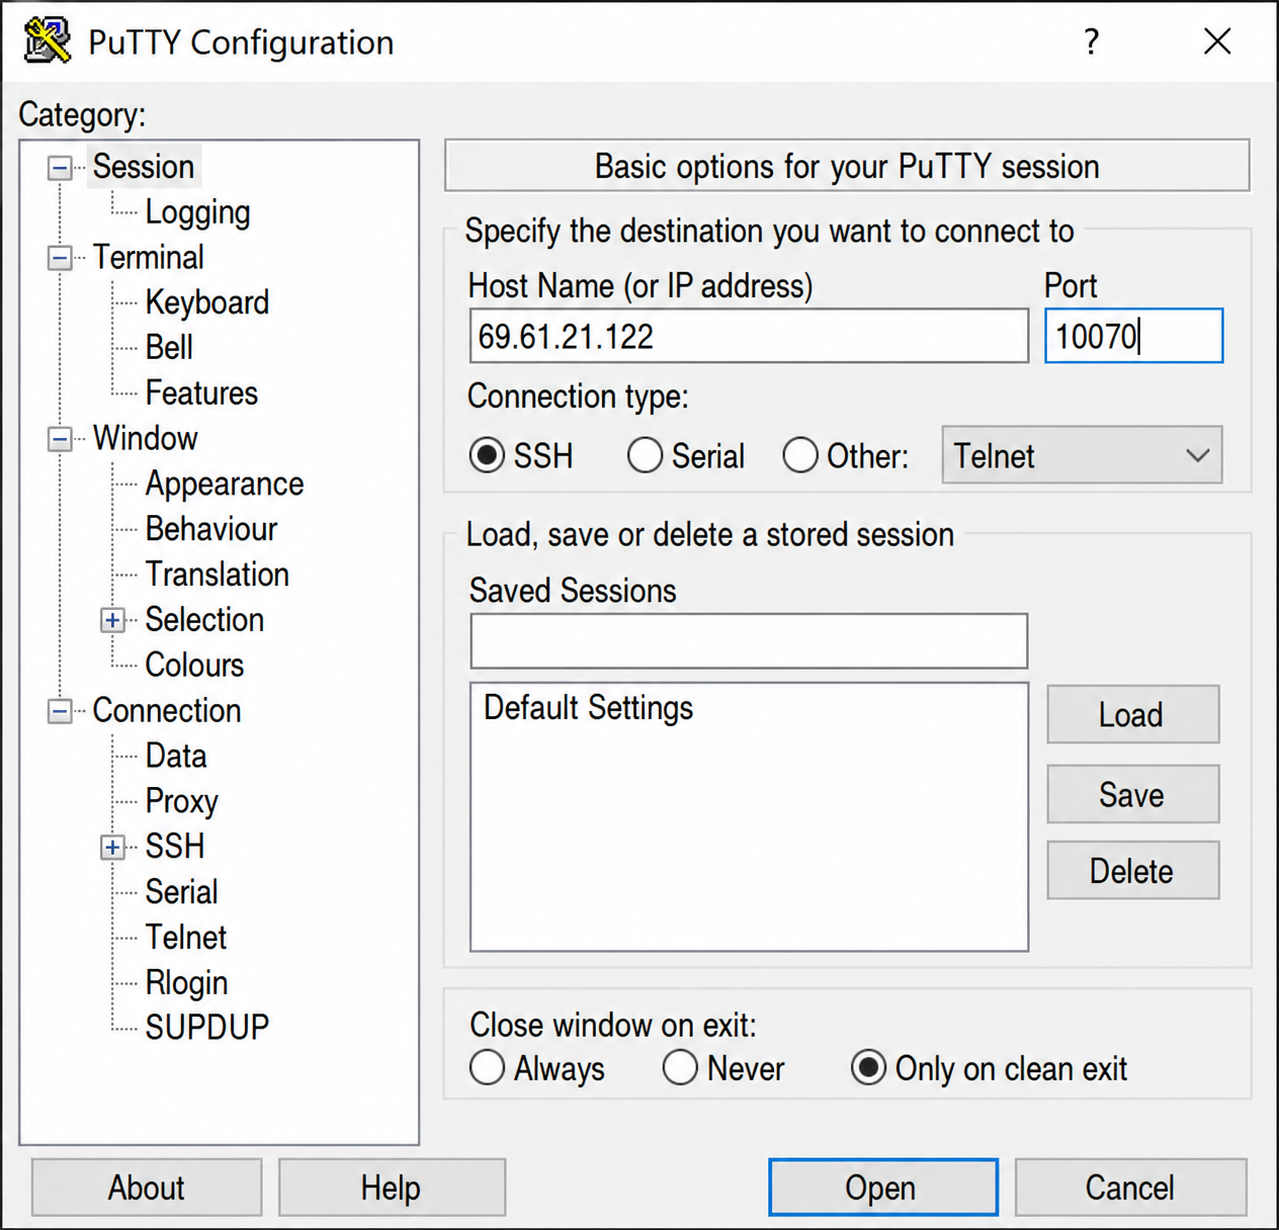
Example connection with PuTTY
Docker and Docker Compose are already installed on the server. You don’t need to install anything else.
View available Stacks
docker-deploy-stack --list
The command lists each Stack with its language and identifier, in the format language/stack. That identifier is what you will use to install it.
Install a Stack
You can install it directly, without the menu:
docker-deploy-stack --stack python/flask-mysql
Or run the command without arguments to choose it from an interactive menu:
docker-deploy-stack
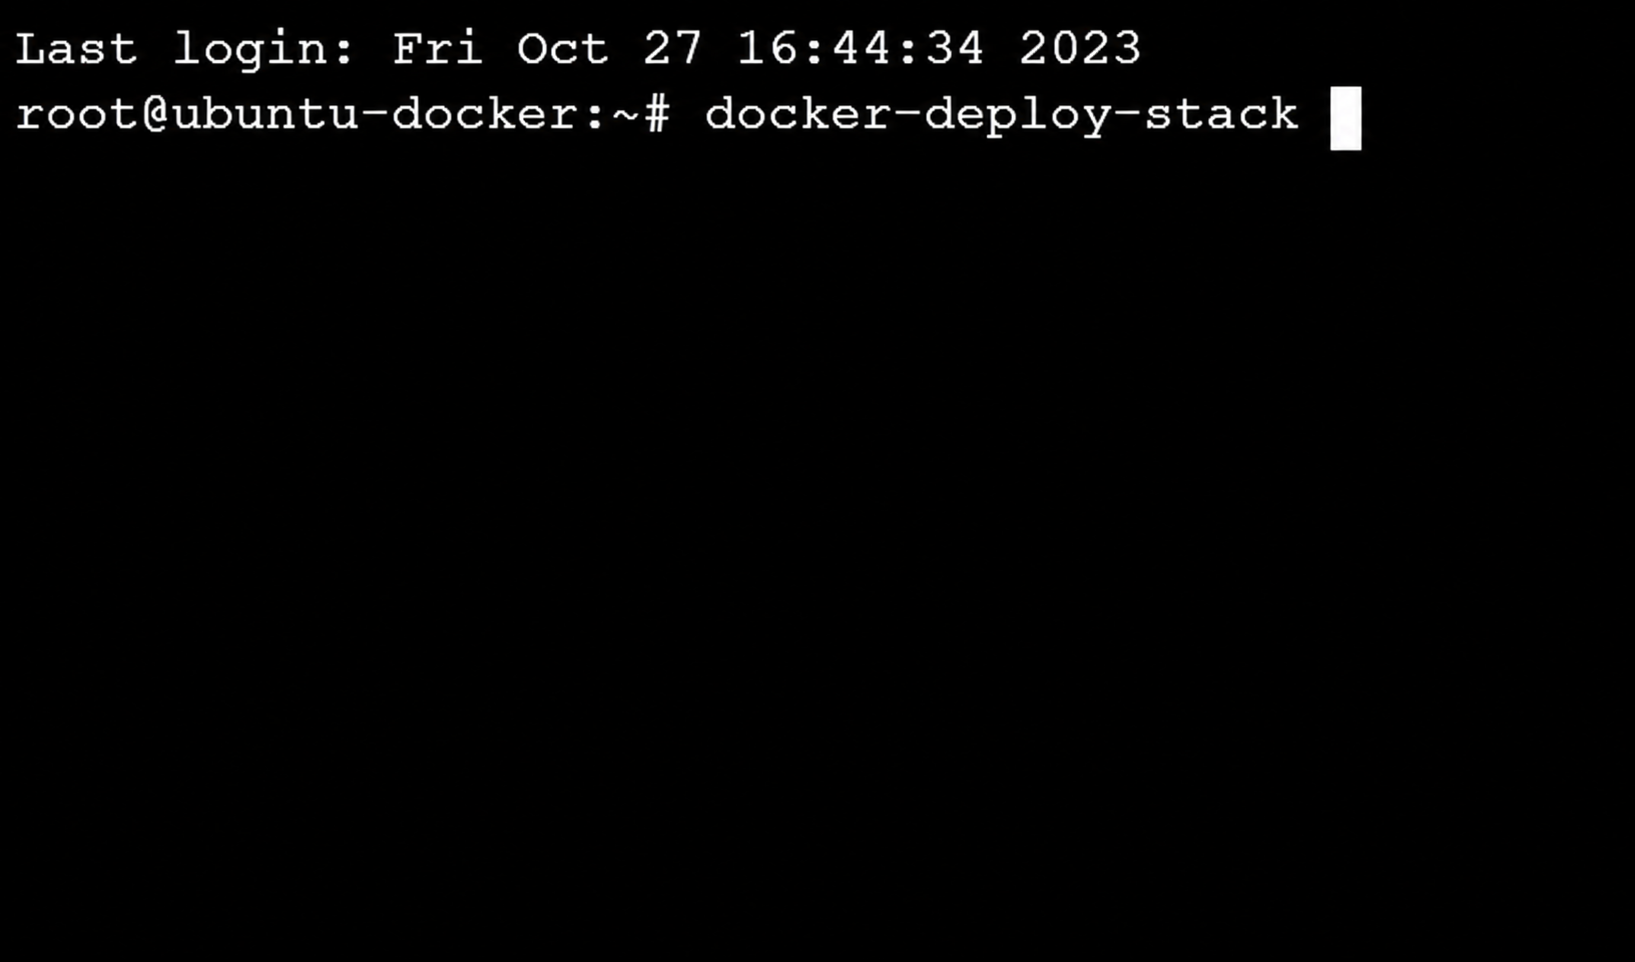
Useful options
| Option | Purpose |
|---|---|
--list |
Lists available Stacks. |
--stack language/stack |
Installs that Stack without using the menu. |
--language python |
Shows only the Stacks for that language in the menu. |
--install-dir /opt/stacks |
Installs in another directory. Default is /root. |
--dry-run |
Shows what would be installed, without downloading anything. |
Where it is installed
By default, in:
/root/stack/<language>/<stack>/
For example, /root/stack/python/flask-mysql/. If you used --install-dir, the path is that directory followed by stack/<language>/<stack>/.
That directory is the center of everything. Inside you will find:
.
├── app/                  your application code
├── app.Dockerfile        how your application's image is built
├── compose.yaml          the definition of all services
├── nginx/default.conf    the nginx that receives traffic on port 80
├── backup/               the automatic backups script
├── .env                  the editable Stack configuration
└── .env.example          the default values, as a reference
Start the Stack
Enter the Stack directory and bring it up:
cd /root/stack/python/flask-mysql
docker compose up -d
The first time it takes a few minutes because it downloads the images and builds your application’s image.
When it finishes, you can open your server’s domain in the browser and see the example application that the Stack includes.

Passwords are generated automatically
There is no password file to edit before bringing up the Stack. The first time it starts, the Stack generates a random password for the database and stores it in an internal Docker volume, accessible only to the containers that need it.
If at some point you need that password, for example to connect with a database client:
docker compose exec db cat /run/secrets/db-password
Configure the Stack
When installed, a .env file is created from .env.example. There are the values you can change:
APP_PORT=80                      # public port of the Stack
APP_ENV=development              # application environment
DB_NAME=example                  # database name
BACKUP_ENABLED=1                 # automatic backups
BACKUP_INTERVAL_SECONDS=86400    # how often a backup is made
BACKUP_RETENTION_DAYS=7          # how many days backups are kept
After changing the .env, apply the changes:
docker compose up -d
Commands you’ll use frequently
docker compose ps          # which containers are running
docker compose logs -f     # view logs live
docker compose restart     # restart the services
docker compose down        # stop and remove the containers
Next step
The installed Stack comes with an example application. To replace it with your own, follow how-do-i-deploy-an-application-in-a-stack.md.