
How to send a campaign?
To send an email campaign you must follow these steps:
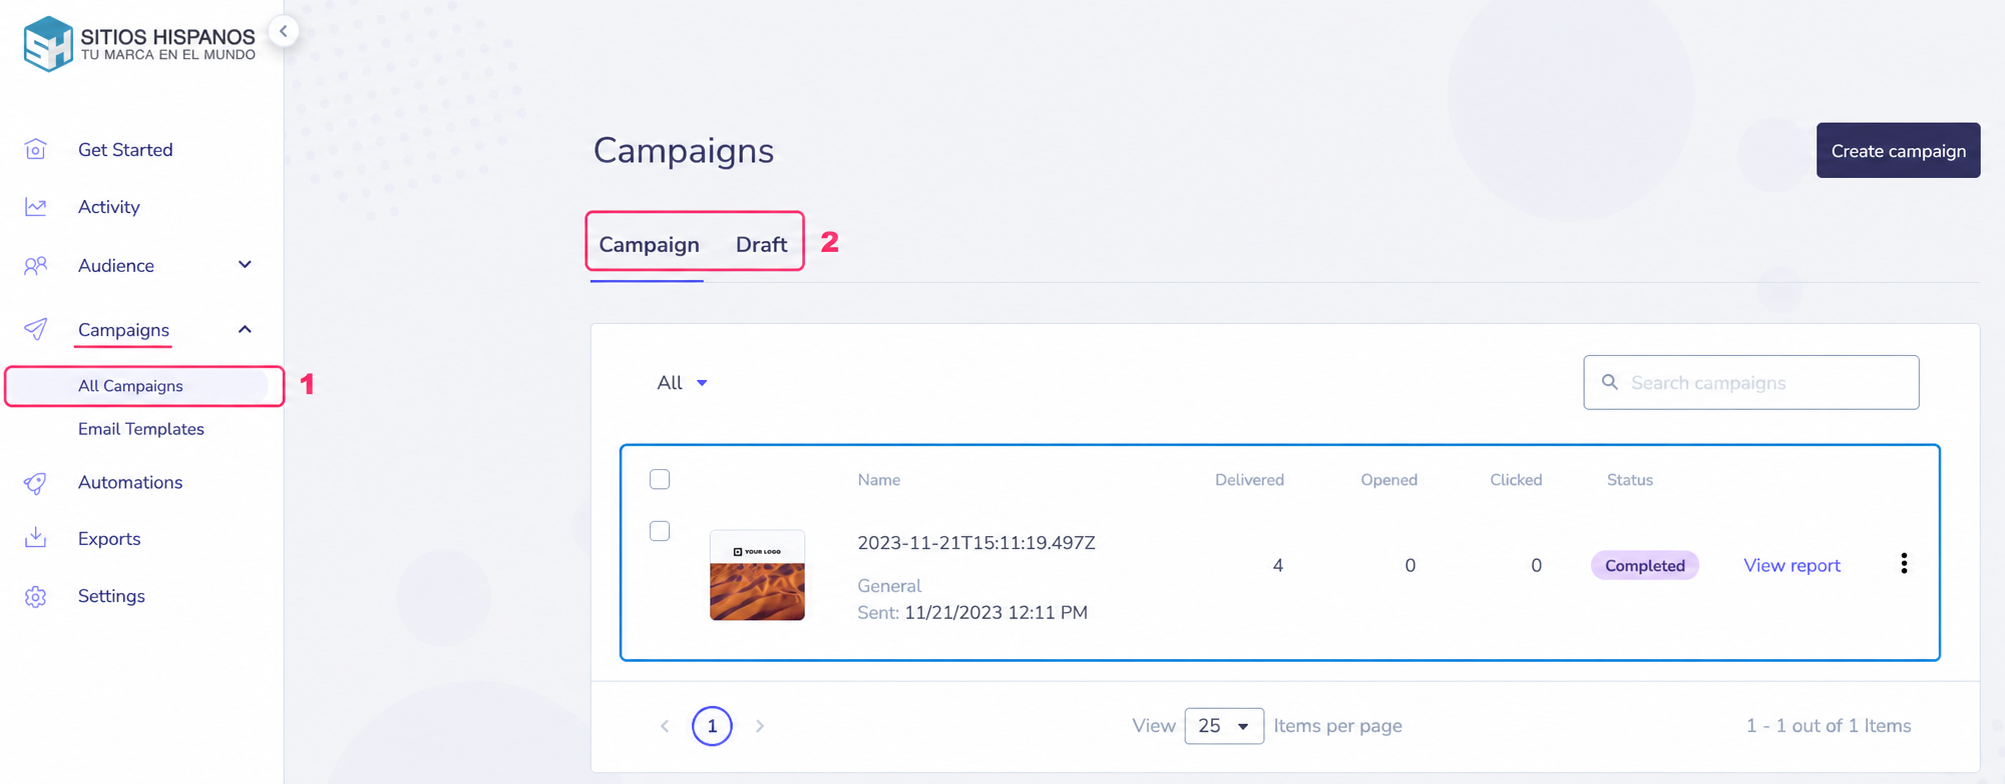
- Go to Campaigns=>All Campaigns.
You will find the list of campaigns already sent in the center of the screen. - On the right press the Create campaign button.
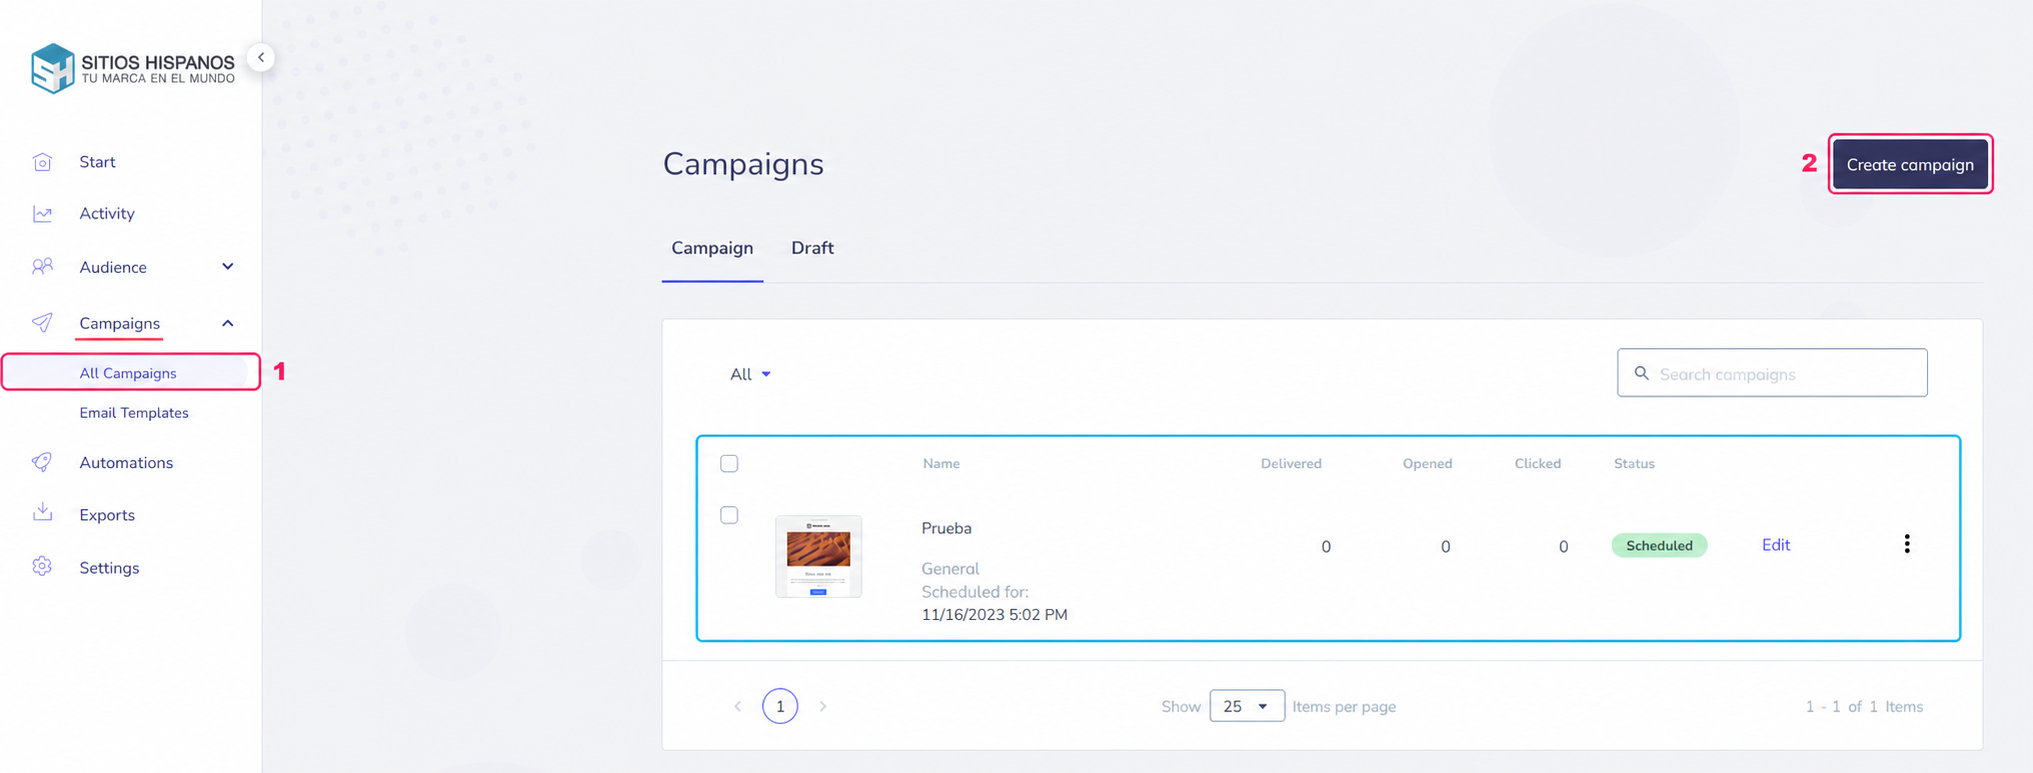
Two options will appear:
- Regular: This is where you will normally send your campaigns from.
- A/B Test: You can run a test where two different versions of the same email are sent. This is useful to test the formatting of your templates.
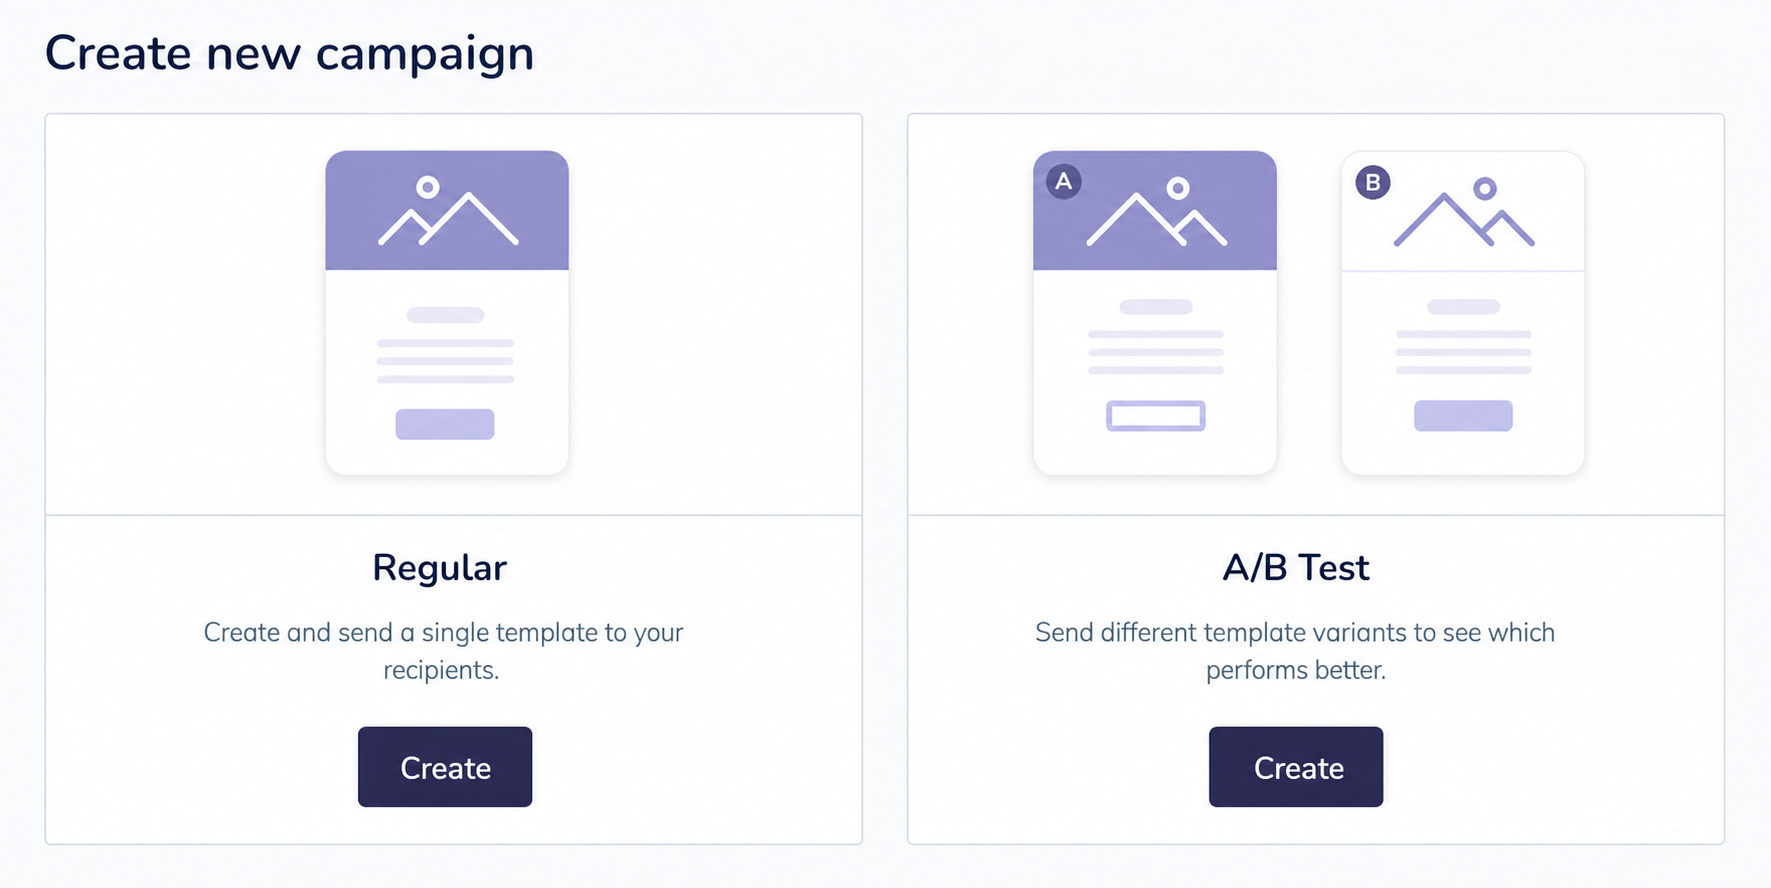
With the Create button the system will show you the screen to send your campaign.
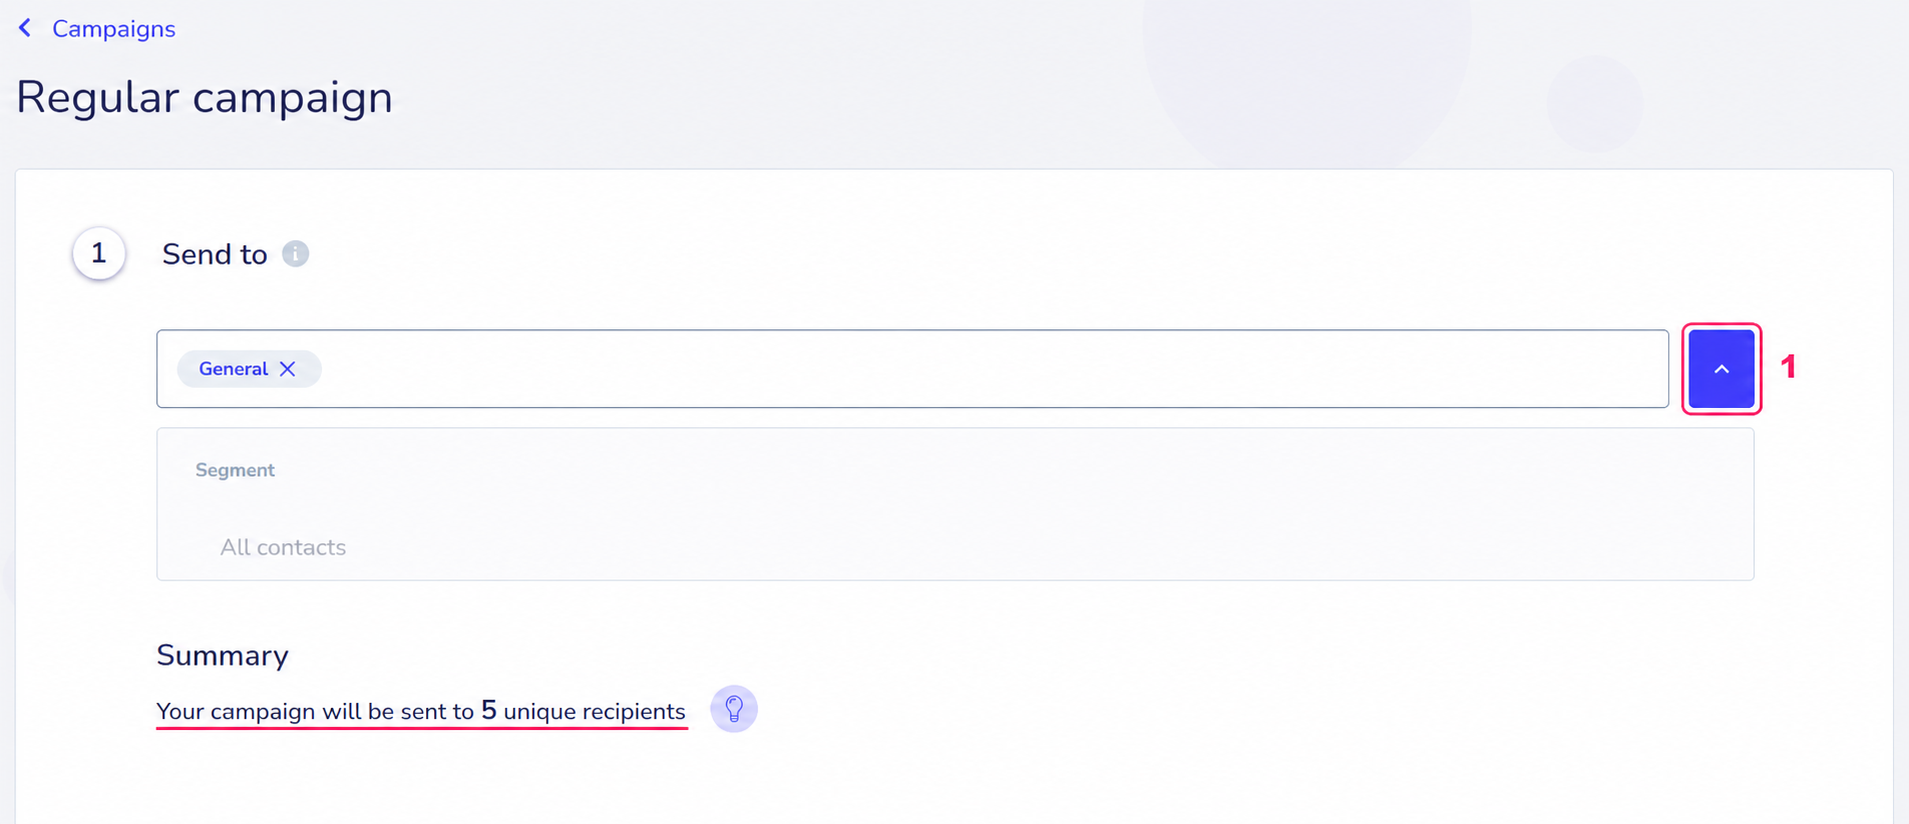
The new screen is very similar in both modes; the process consists of three steps:
- First you will see a menu where you will have to choose a contact list. You can also type email addresses directly into the box.
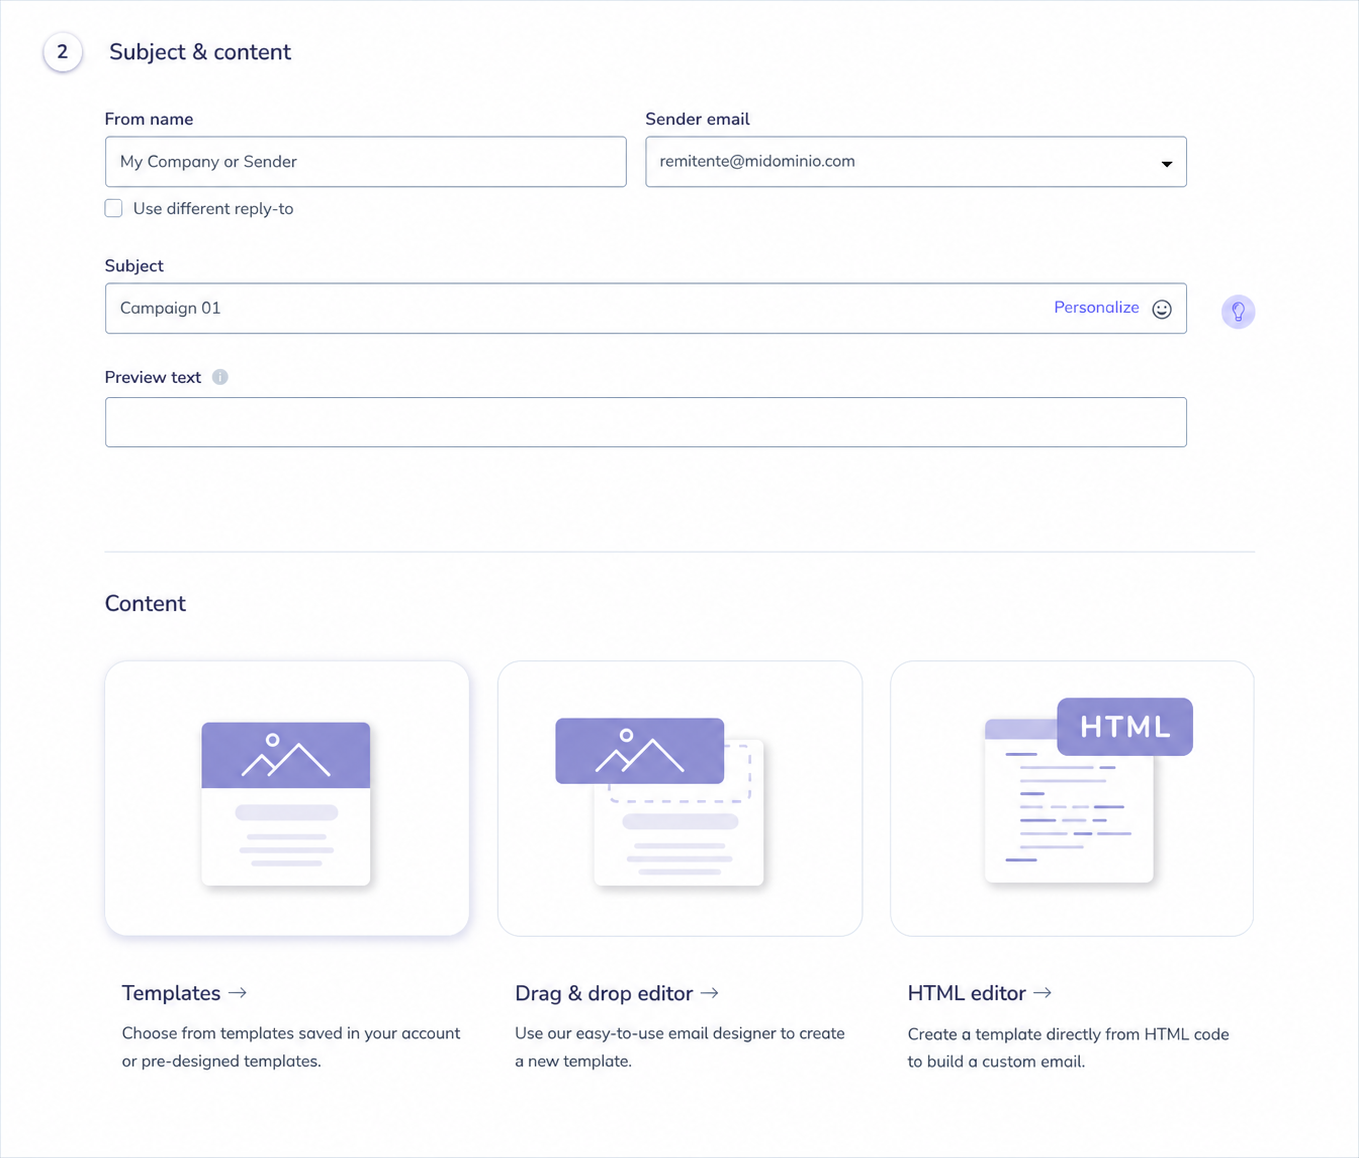
- In the second step you will have to fill in the details that will appear to recipients, such as the sender name, the email address that will send the messages, the subject of the message, etc.
Below you will have to choose the template you will send. If you do not have a template created, you can create one with the graphical editor or HTML.
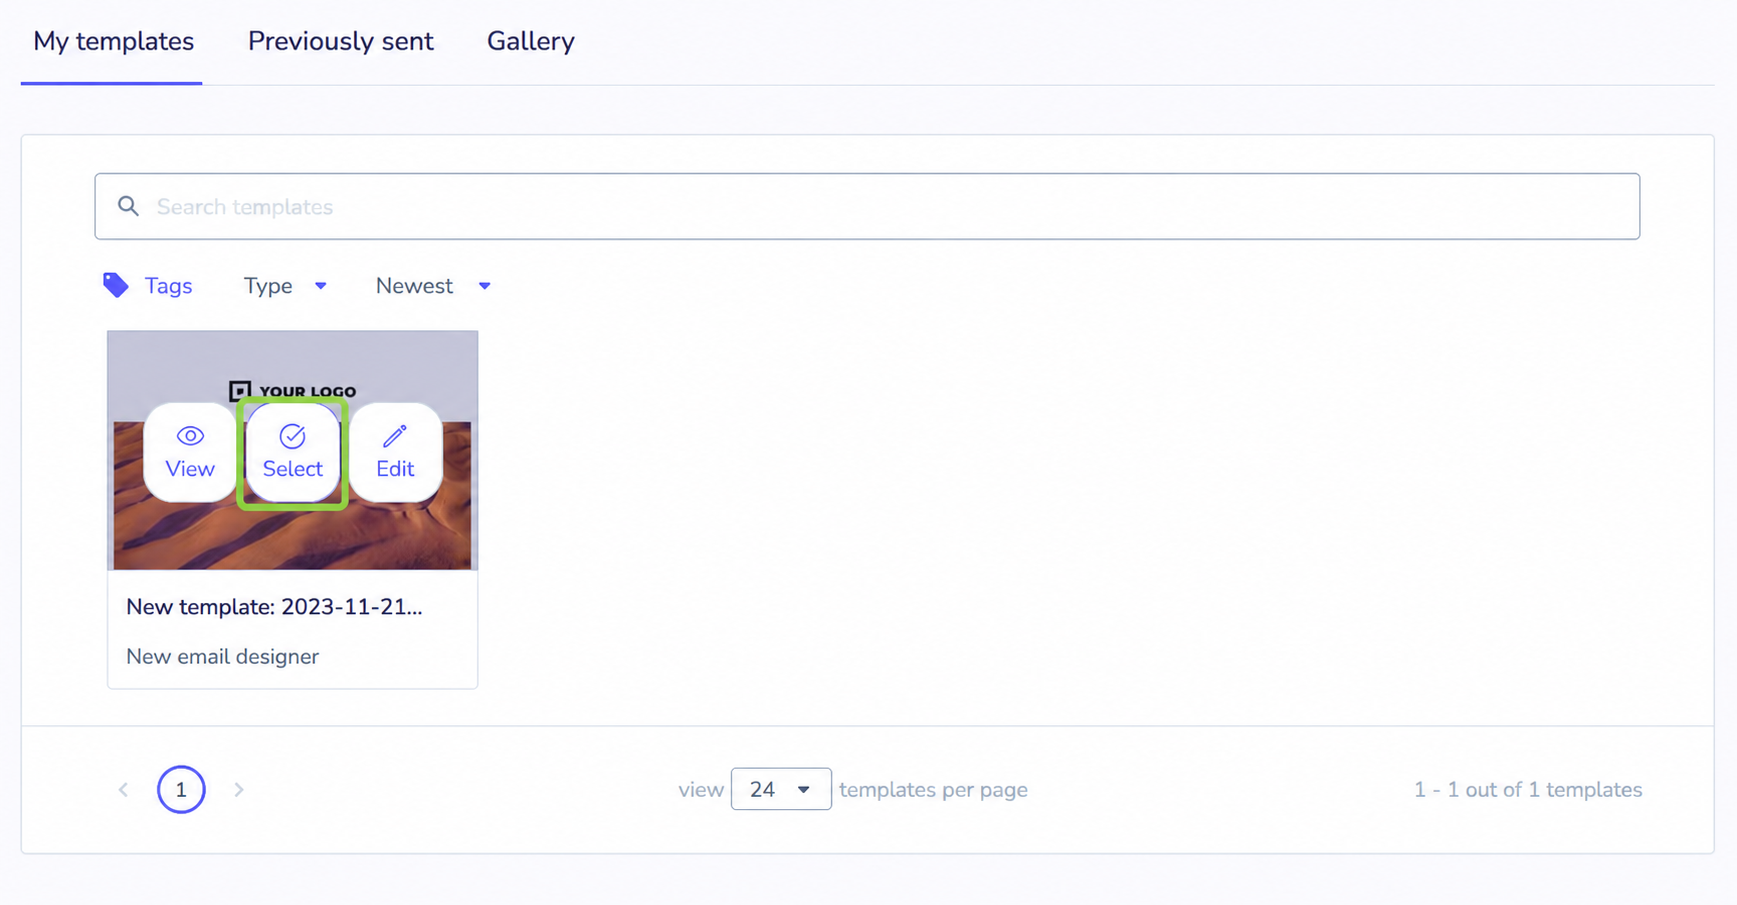
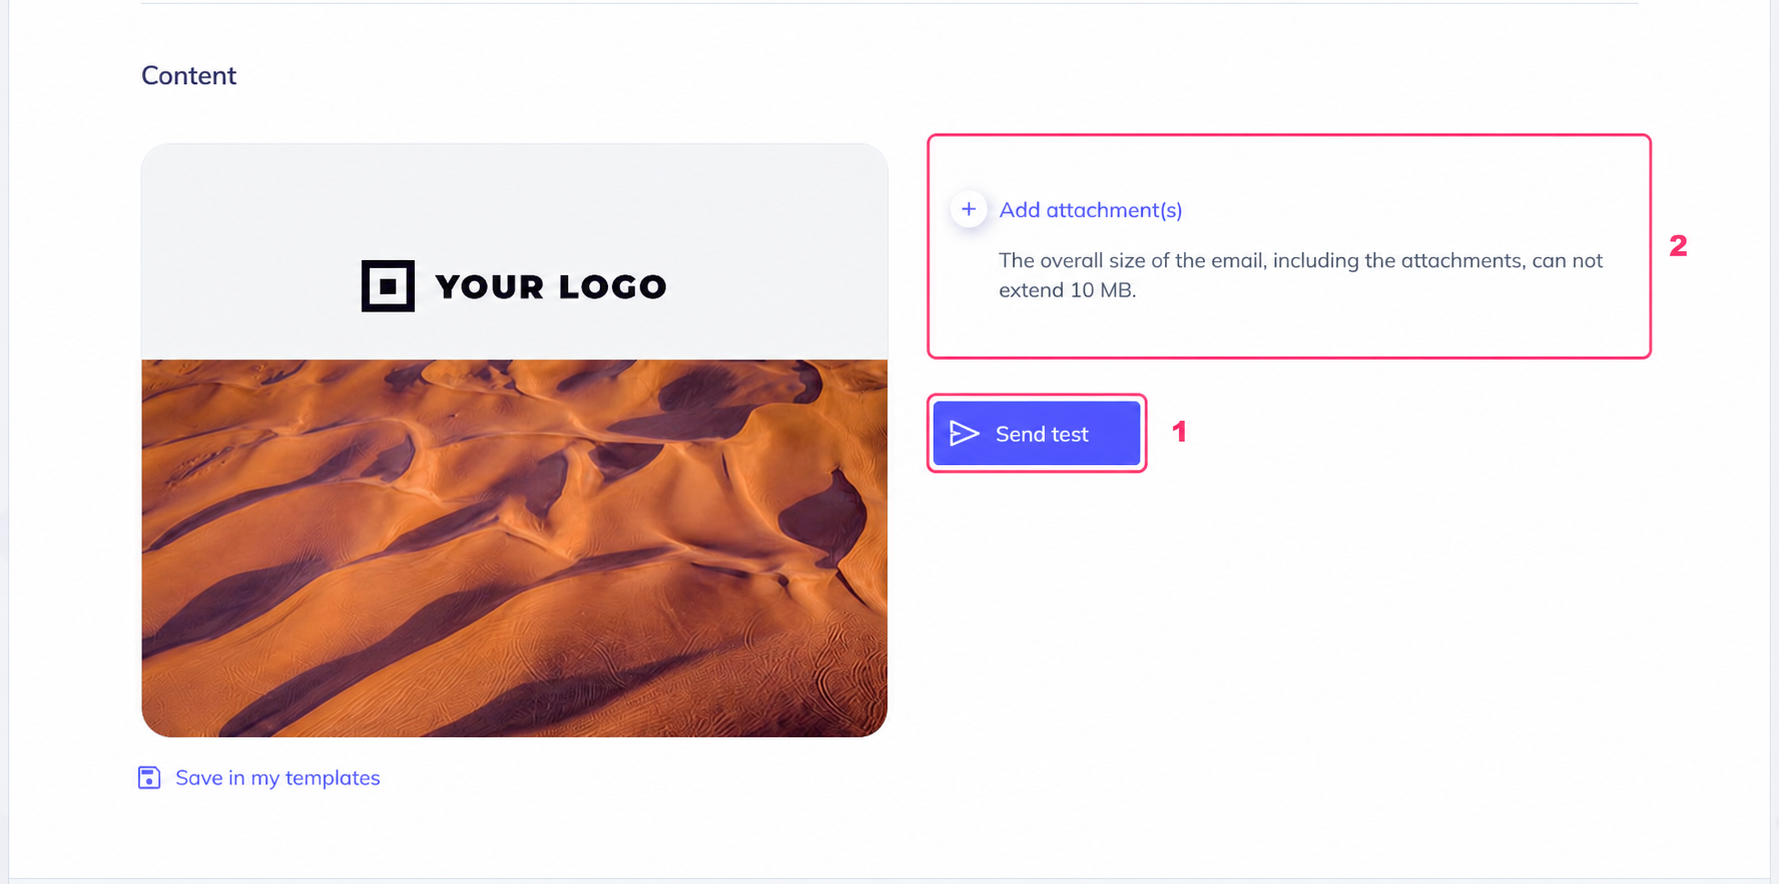
Once the template is chosen you can, optionally, send a quick test and you can also attach a file to the email you will send.
- In the last step, to send your campaign you will find three options:
- Send now: you will send the campaign.
- Schedule: you can set a date and time for the campaign to be sent automatically.
- Save as draft: you will save your campaign to finish it later.
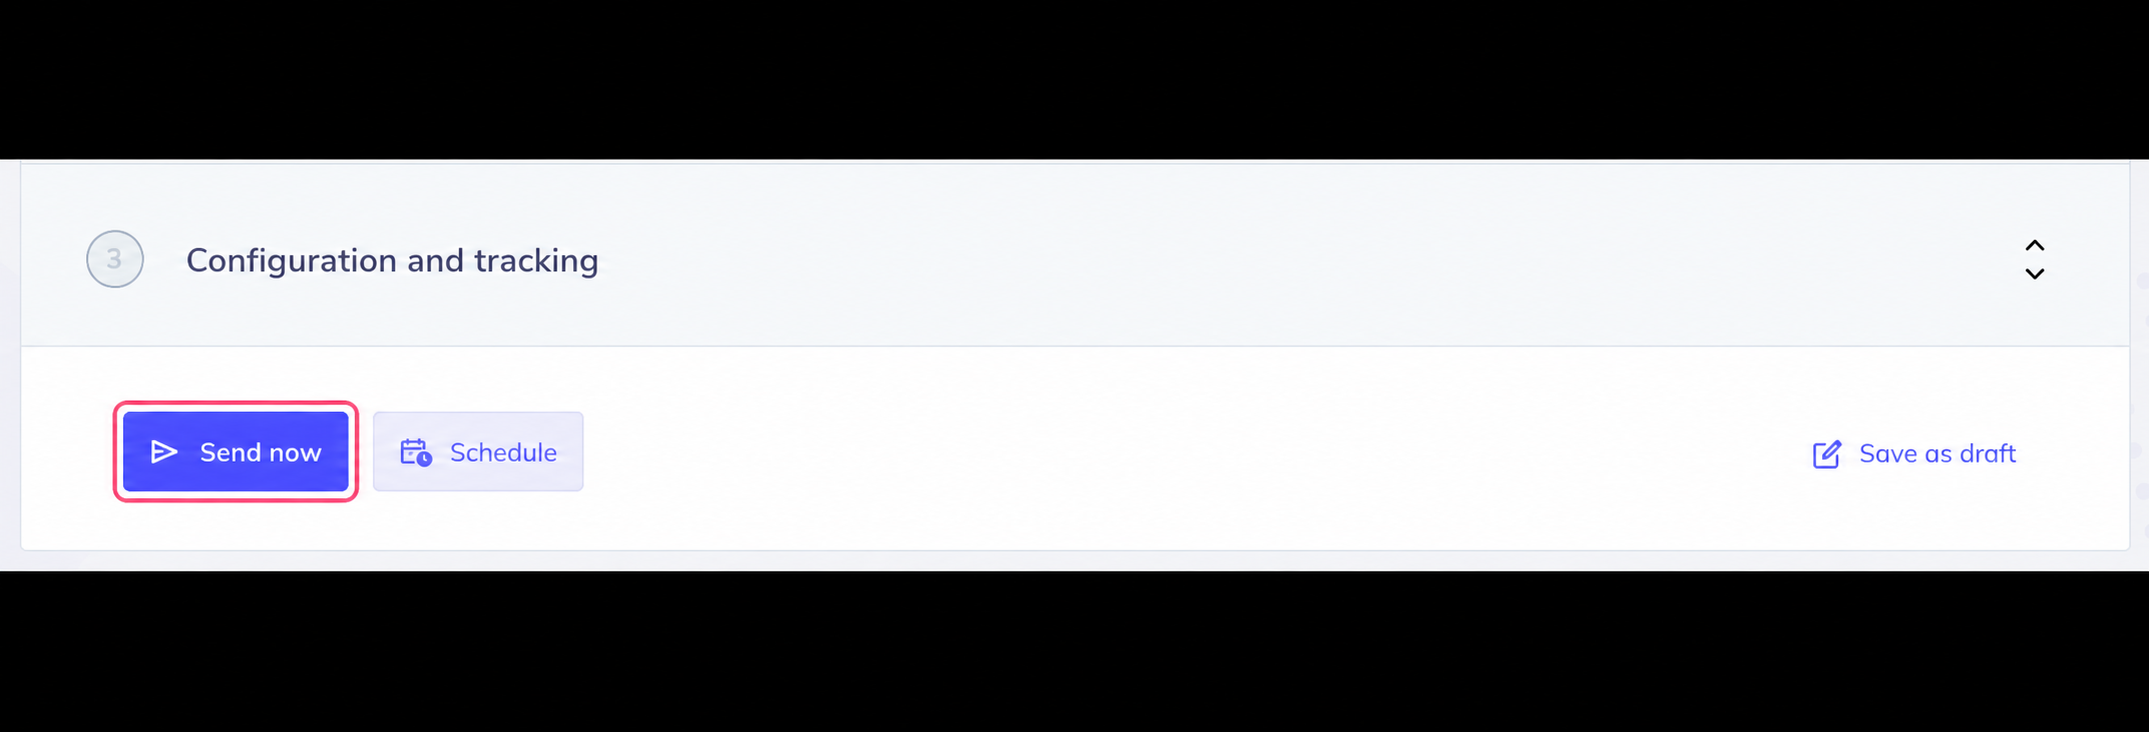
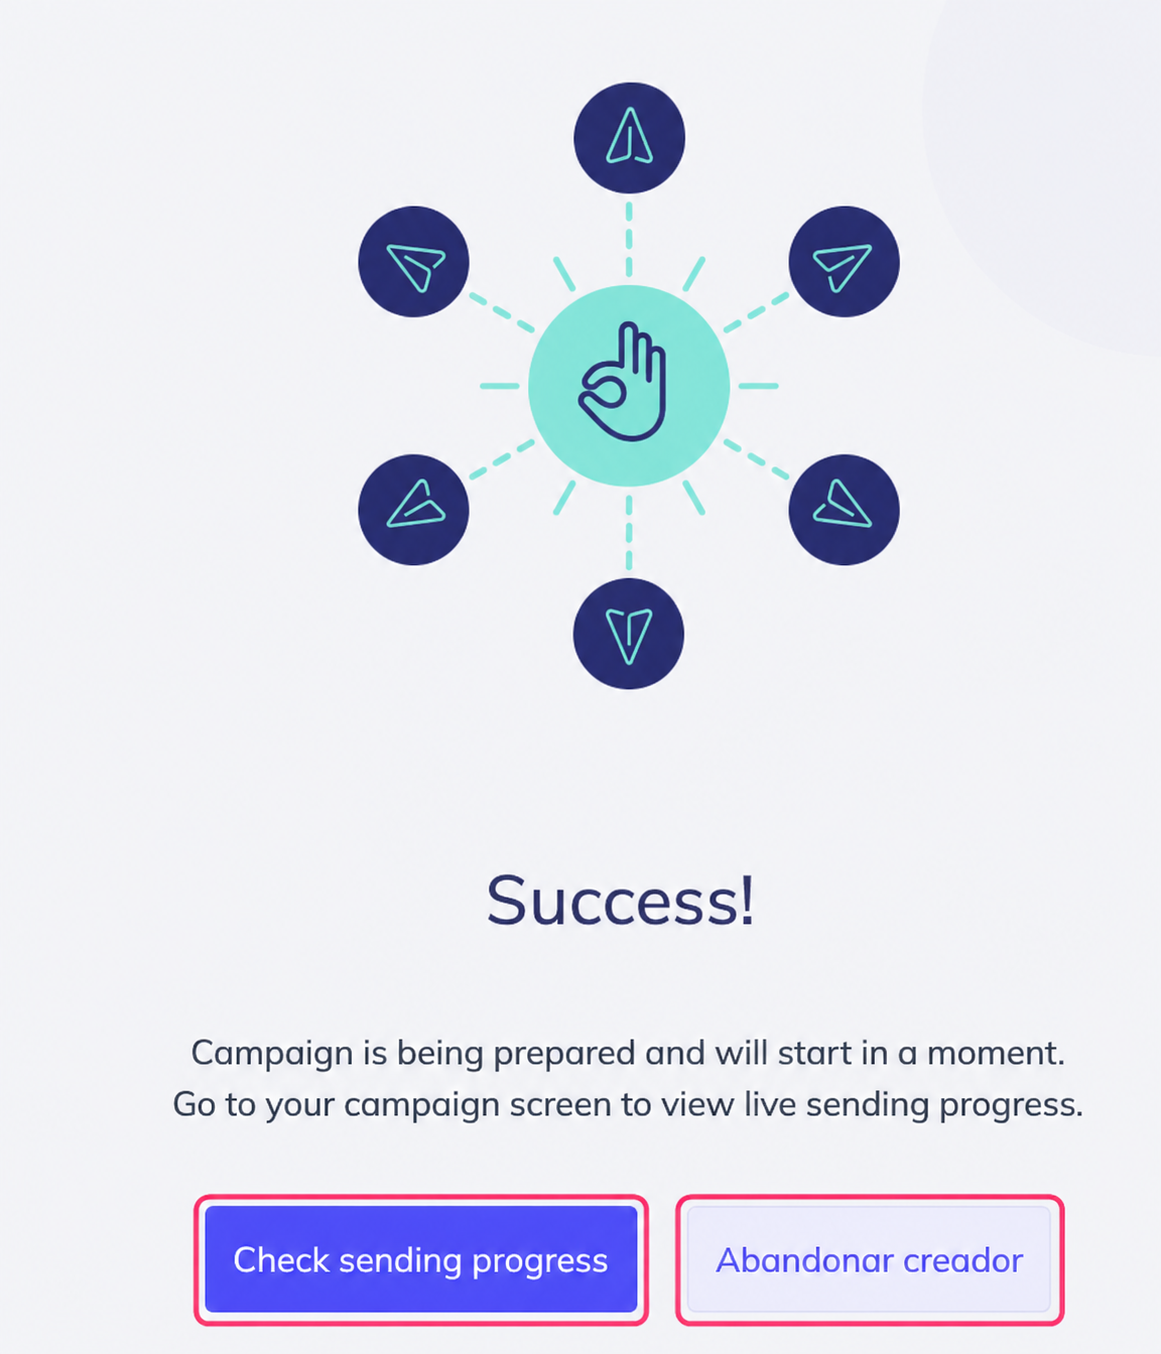
After completing the three steps your email campaign will be sent and you will see the following screen, where you can track the campaign delivery or exit this section.
Remember that you can view sent campaigns by going to Campaigns=>All Campaigns.
You can view campaigns or drafts.