

How to use WP Toolkit in Plesk?
To install and manage WordPress easily using WP Toolkit follow these steps:
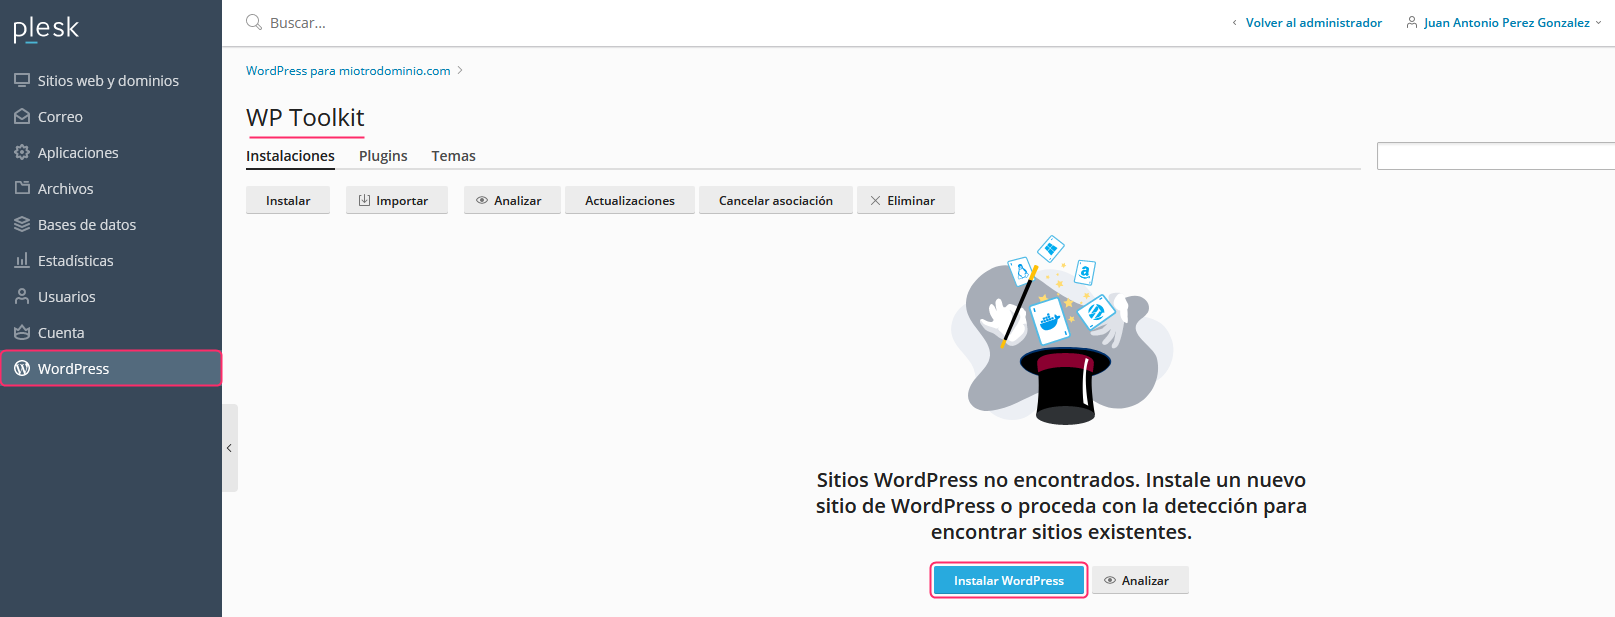
- In the control panel go to WordPress, in the left-hand menu.
If you already have a WordPress installation it will appear on this screen. If not, you can install the platform from the Install WordPress button.
2) On the installation screen you will see several options that you must complete.
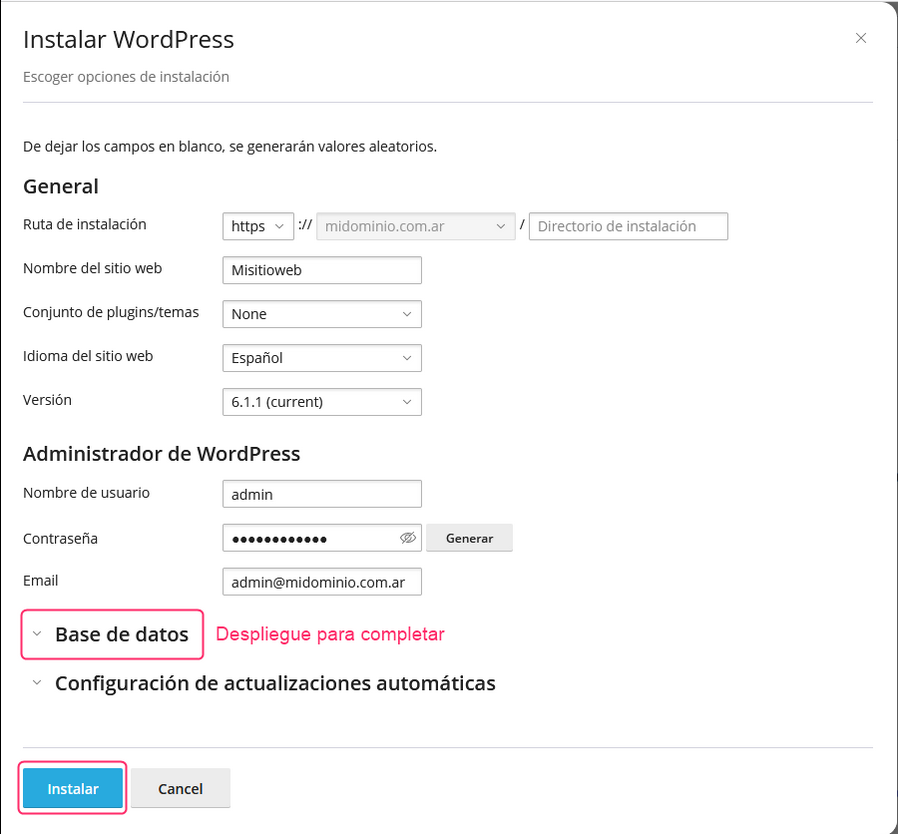
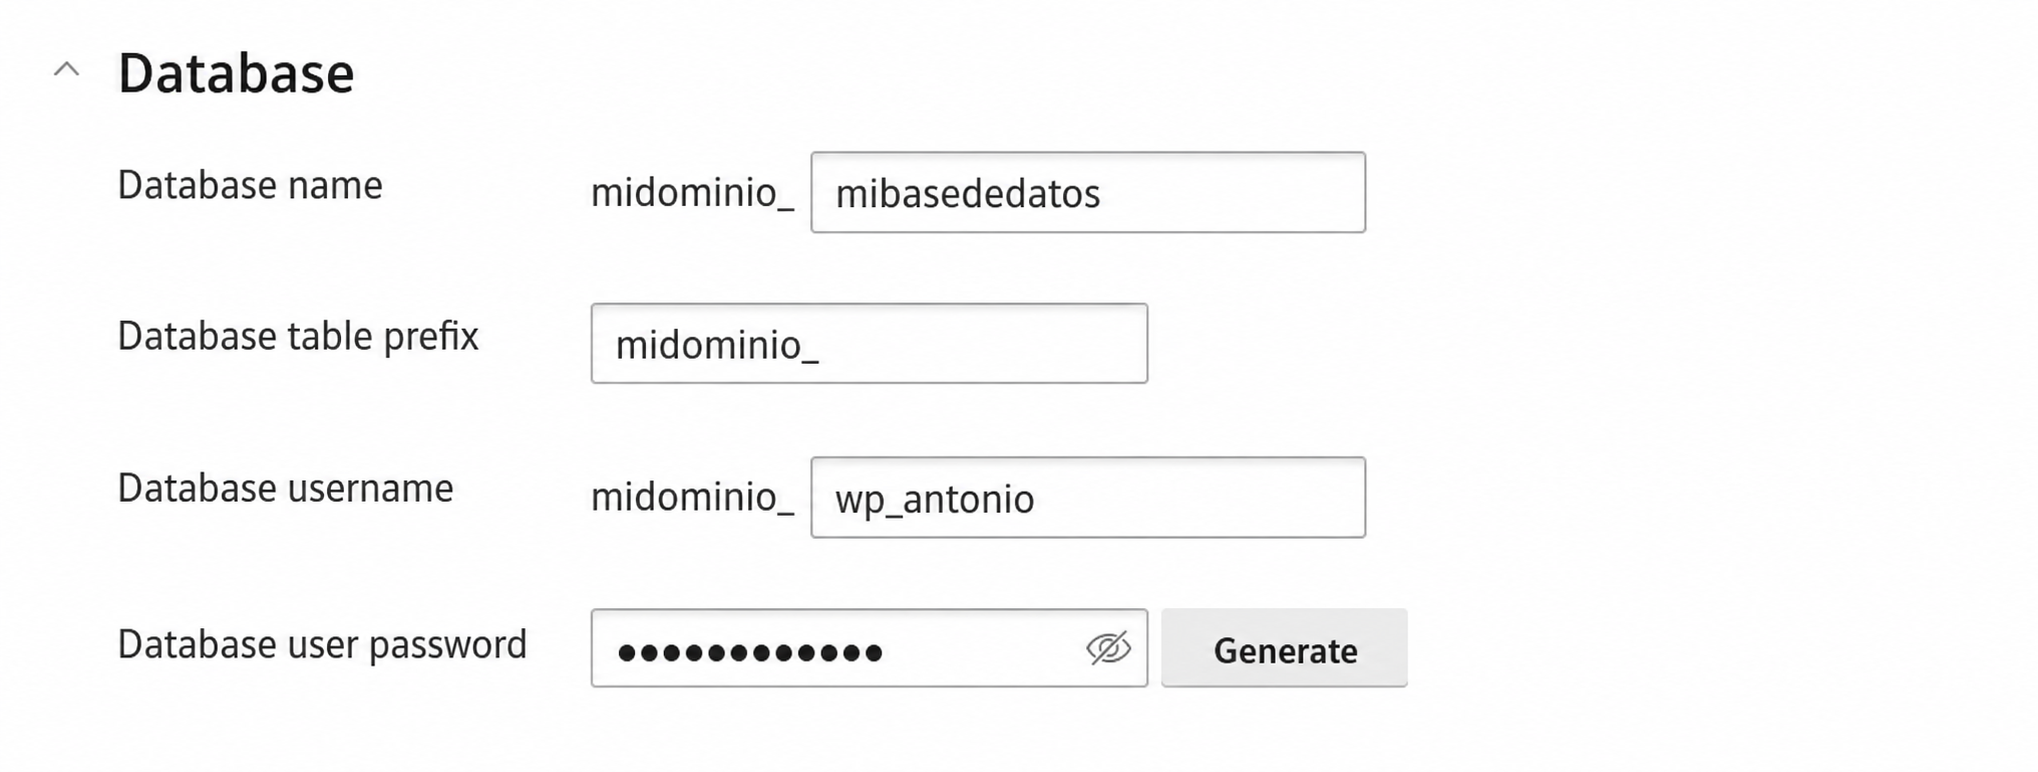
- By expanding the Database menu you can fill in the database details you will use. Then, with the Install button a WordPress installation will be created on your hosting plan.
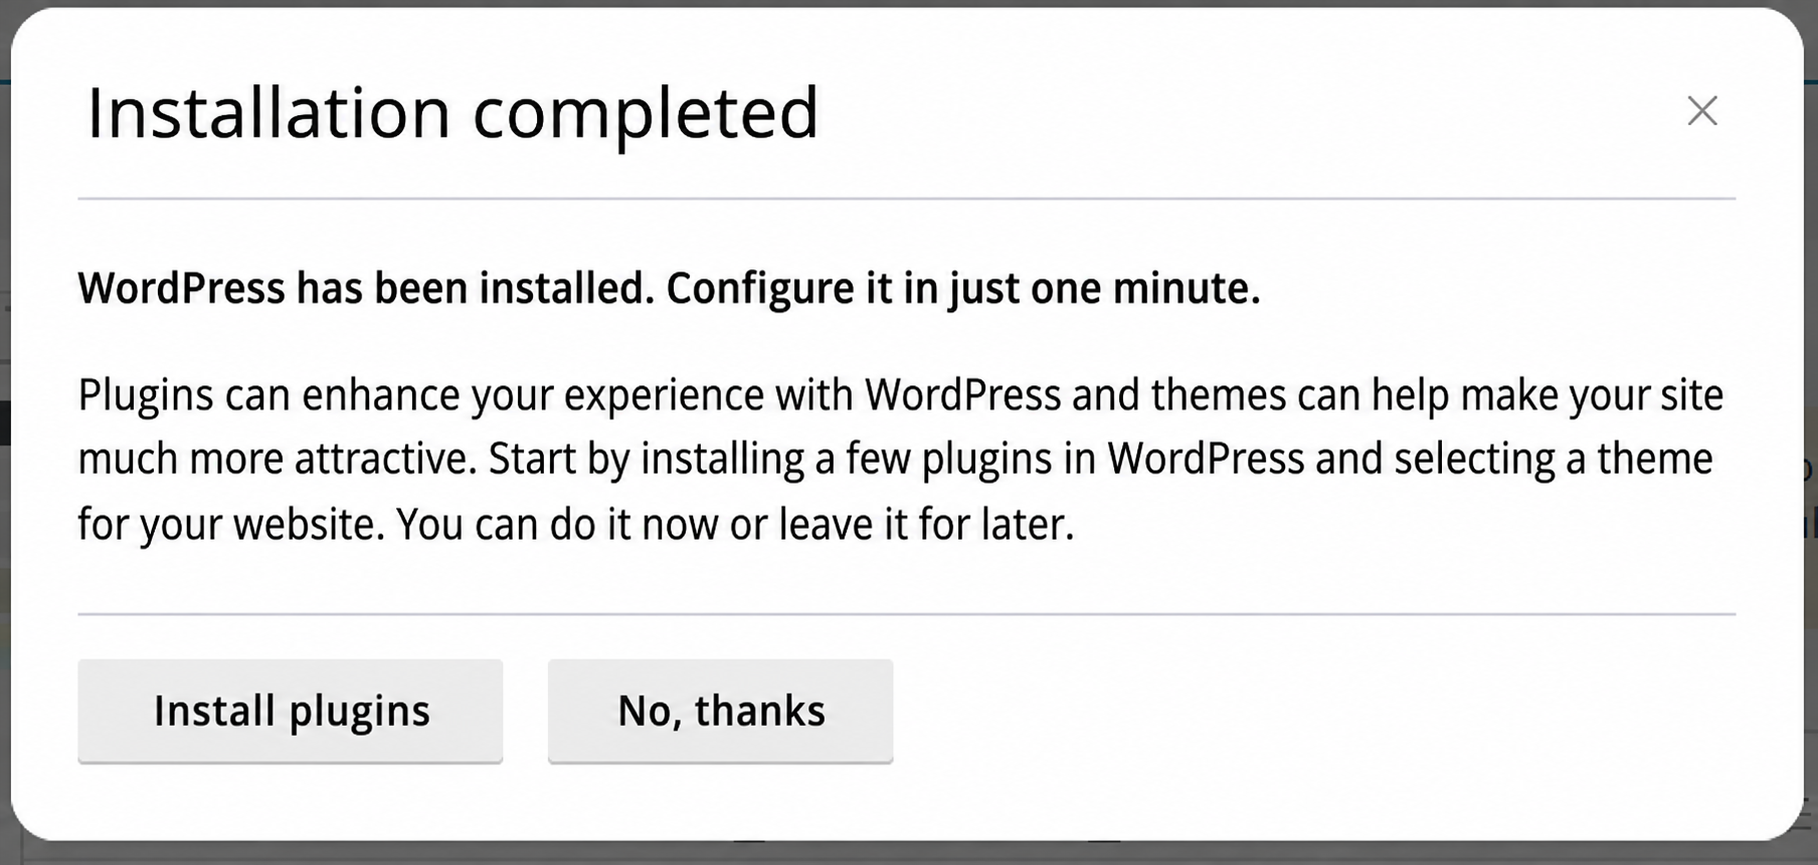
- When the installation finishes you will see this screen, from which you can enter the WP Toolkit manager to install plugins or close the window.
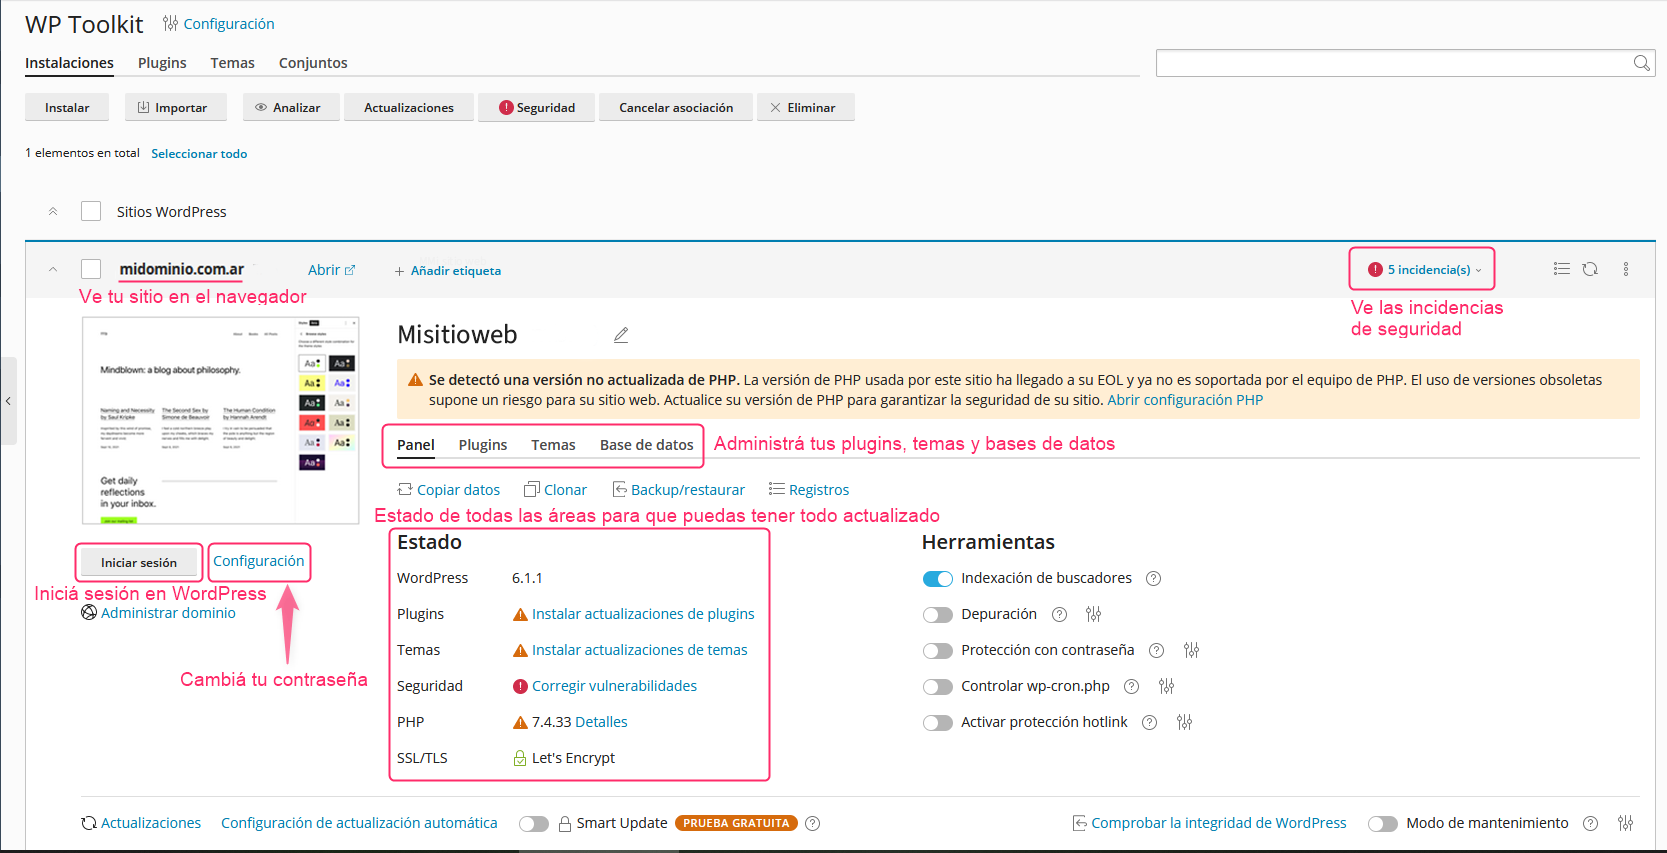
- If you enter WP Toolkit from the control panel you will see your installation. You will find many options and tools to make WordPress administration easier.
You will see options to:
- Change password of the WordPress Dashboard.
- Log in to the WordPress Dashboard.
- Install and modify Plugins, Themes and your Database details.
- View Security issues to keep your installation protected.
- View the Status of each area to keep everything up to date.
Explore WP Toolkit to get the most out of all its features. Below we include a video tutorial.